Welcome to the captivating world of digital art and photography editing! Adobe Photoshop stands as a towering giant in the realm of image manipulation, offering endless possibilities to those willing to explore its vast capabilities. For beginners, however, delving into Photoshop can seem overwhelming, with its intricate array of tools and features. Fear not, for this guide is tailored to help you, as a novice, navigate the basics of Photoshop with ease and confidence. By understanding the foundational tools and techniques, you'll soon be on your way to transforming your creative visions into stunning digital realities.
Understanding the Photoshop Workspace
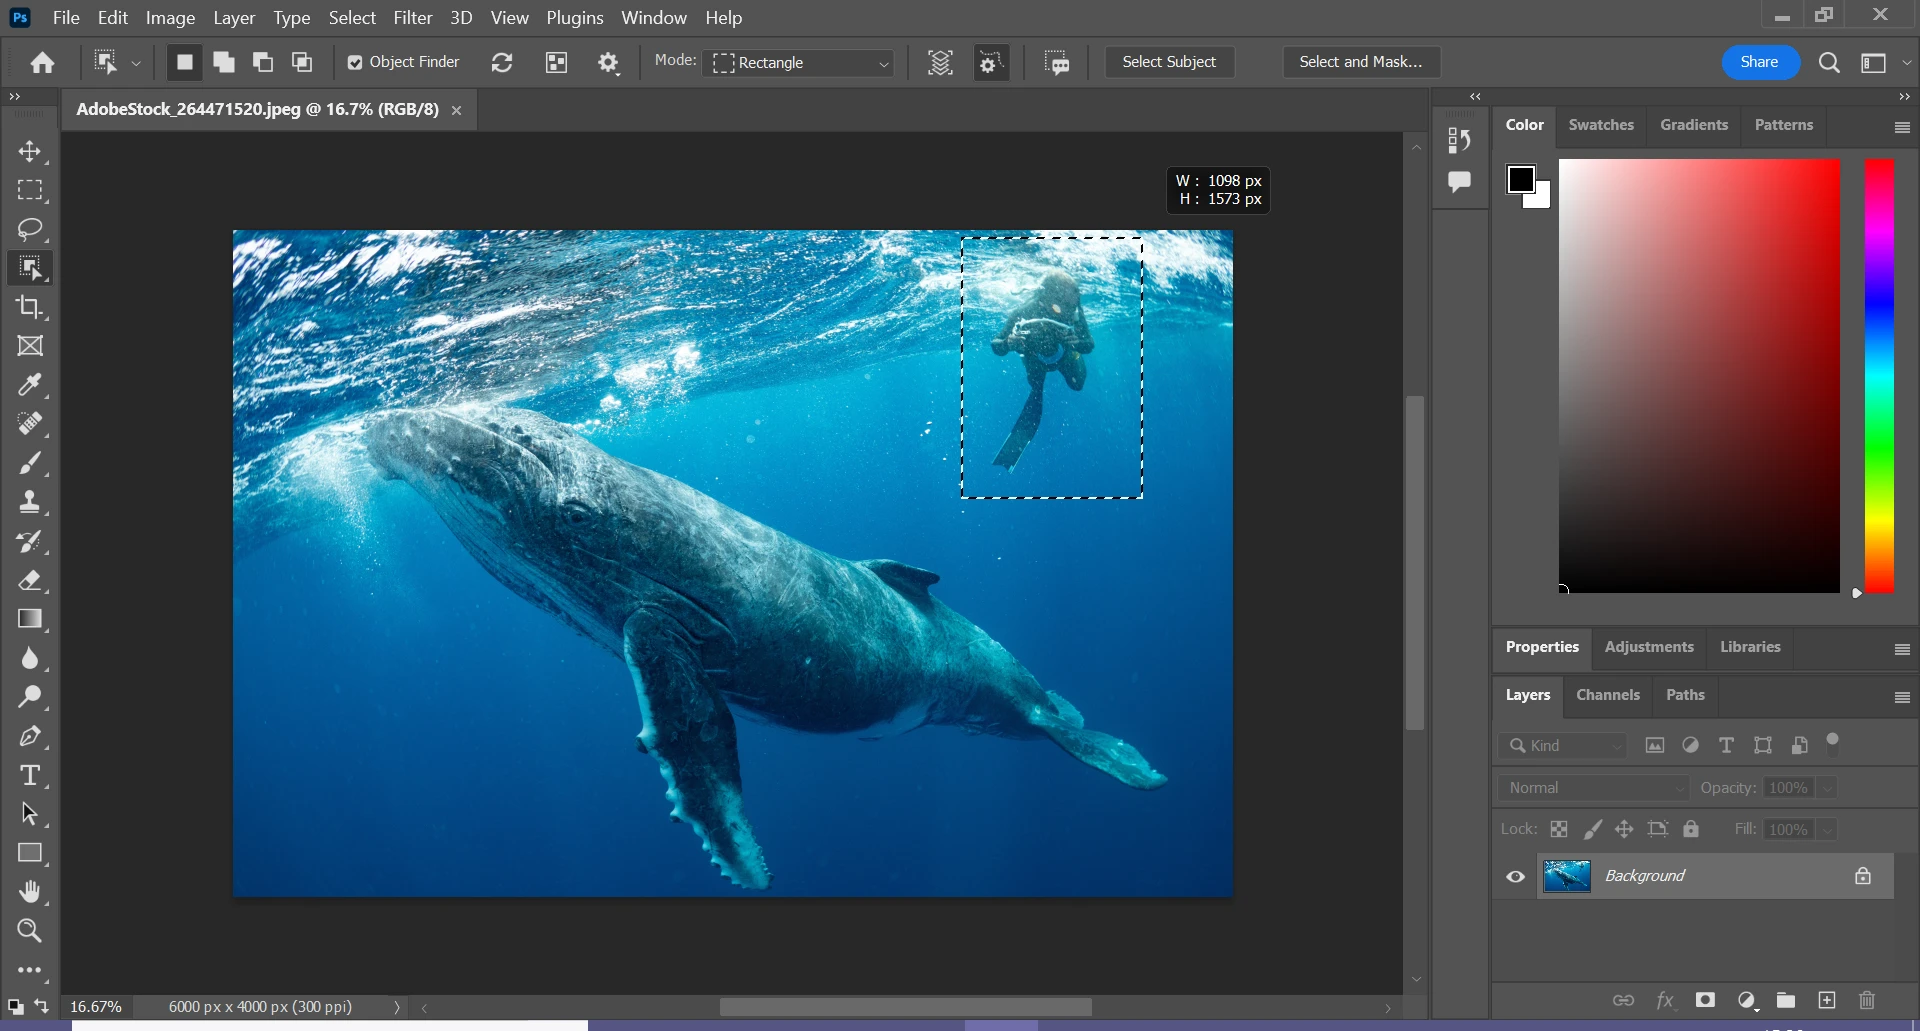
Before you dive into the plethora of Photoshop's tools, it's essential to familiarize yourself with the workspace. The interface is divided into several key areas: the Menu Bar at the top, offering access to Photoshop's features and settings; the Options Bar, which changes contextually with the tool you select; the Tools Panel on the left, containing tools for editing and creating your work; the Layers Panel on the right, allowing you to manage different elements of your image separately; and the Canvas, which is your main work area. Spend some time exploring these areas. Customize your workspace by dragging panels to your preferred location, ensuring a comfortable and efficient environment for your creative process.
Mastering Basic Tools

Photoshop's Tools Panel is where the magic happens. As a beginner, mastering a few basic tools will set a solid foundation for your editing skills. The Move Tool lets you reposition elements within your image. The Marquee, Lasso, and Quick Selection tools are your go-tos for selecting specific parts of your image to edit or move. The Crop Tool allows you to trim and frame your canvas to focus on the desired area. The Brush Tool offers painting and drawing capabilities, while the Clone Stamp lets you copy one area of an image to another. Familiarize yourself with these tools by practicing on sample images, experimenting with different settings for each tool to see their effects.
Layers: The Building Blocks of Photoshop
One of the most powerful features of Photoshop is its layering system. Layers work much like transparent sheets stacked on top of each other, each containing different parts of your image that can be edited independently. Start by adding a new layer for each element you wish to manipulate. Learn how to use the Layers Panel to hide, lock, or adjust the opacity of layers. Blending modes can be applied to layers, changing how they interact with the ones below them. Understanding layers is critical as they offer flexibility in editing without permanently altering your original image.
Basic Image Adjustments
Adjusting the quality of your image is often the first step in the editing process. Photoshop provides a range of adjustment tools to refine your image. The Brightness/Contrast adjustment can make your image pop, while the Hue/Saturation adjustment allows you to alter the colors. Levels and Curves are advanced tools for controlling the light and color balance with precision. Finally, the Sharpen Tool can help bring clarity to your image, but use it sparingly to avoid an unnatural look. All adjustments can be made on separate adjustment layers, preserving your original image for non-destructive editing.
Exporting Your Work
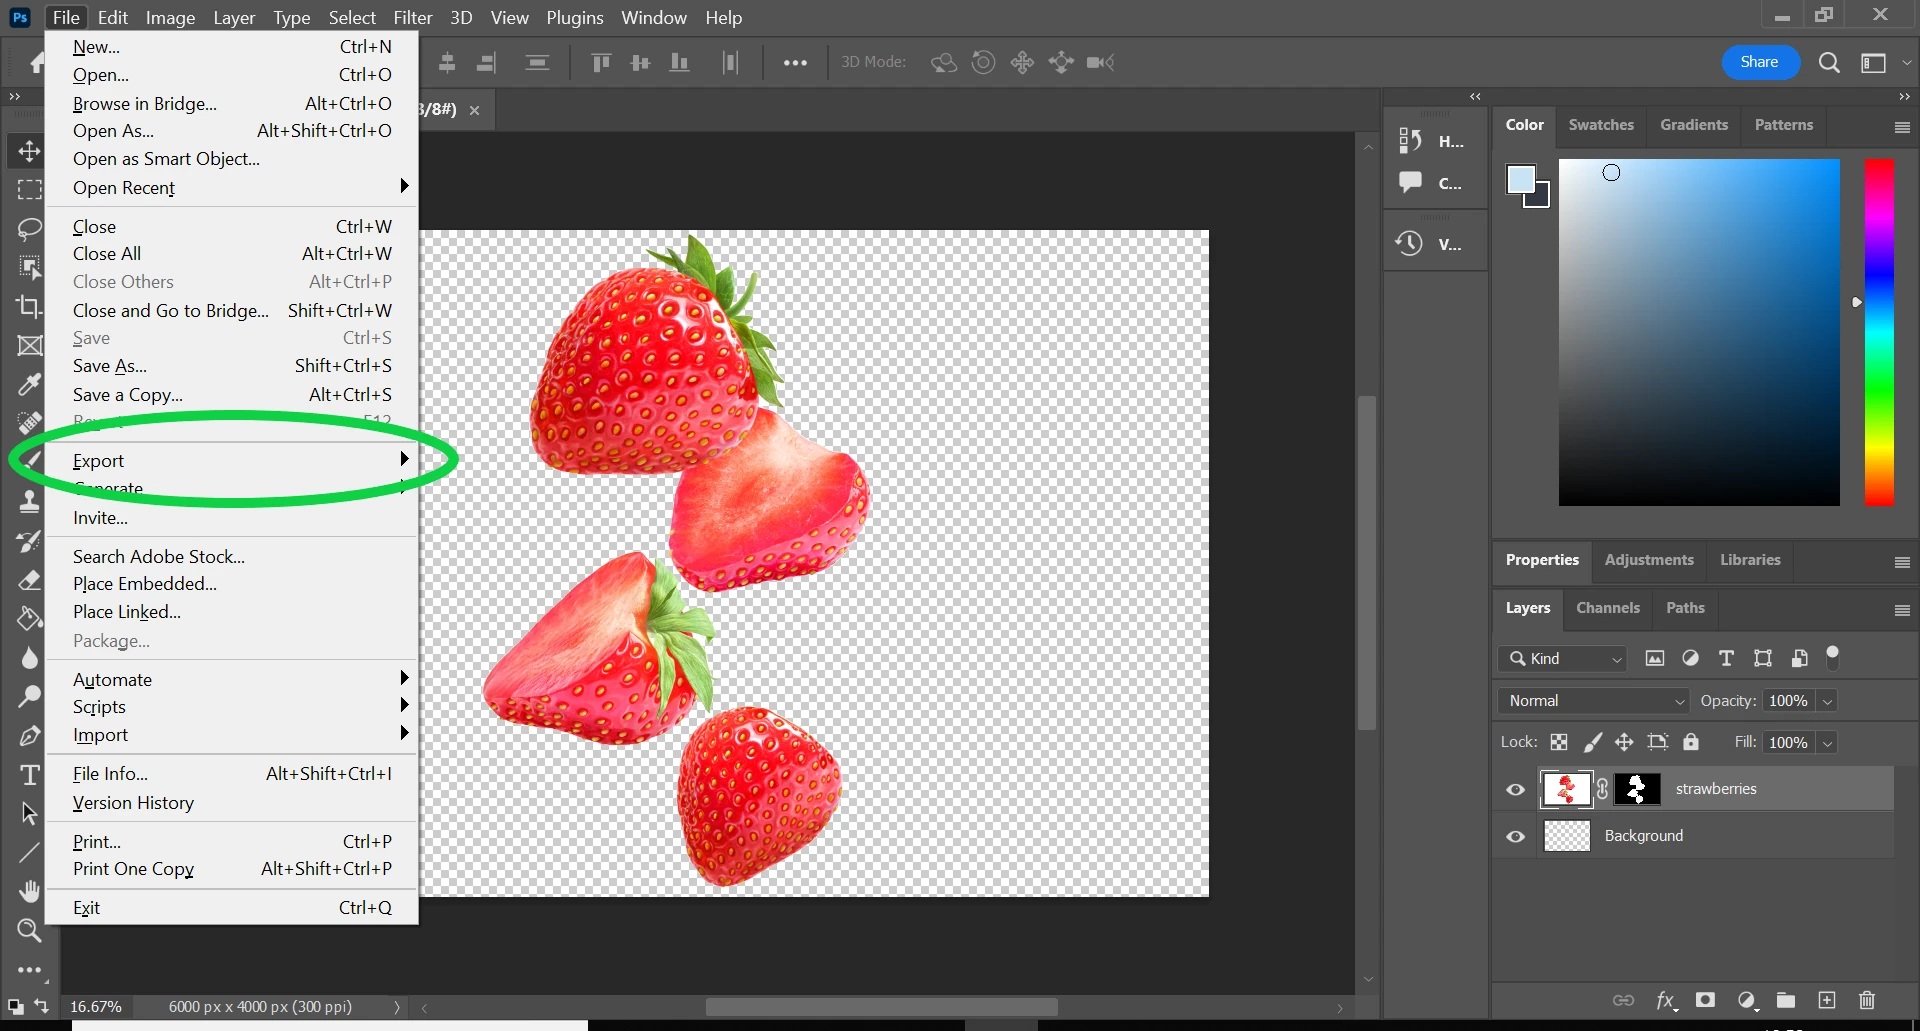
Once you've completed your masterpiece, it's time to share it with the world. Photoshop offers various formats to save your work, depending on how you plan to use the image. For web, save your image as a JPEG or PNG through the 'Save for Web' feature, optimizing the file size while maintaining quality. If you're preparing for print, consider saving as a TIFF or PDF to preserve high resolution. Remember to save your Photoshop file (PSD) as well, so you can return and make any future edits. With your image saved, you're now ready to showcase your newly acquired Photoshop skills.
